Showing posts with label stenciling. Show all posts

Friday, February 6, 2015

Express Your Creativity Week 6


Welcome to Express Your Creativity. Here you can share paintings, sketches, art journal pages, poetry, photography, fiber arts like knitting and weaving, favorite recipes, organizational and decorating ideas, and more. The only requirement is that it is something that you have created in some way. I hope you will join me here and please pass it on. Please make sure to list your posts url and not your blogs url. This makes it easier for any late comers to find your post. If you are unfamiliar with Mr. Linky, this is how it works. You type in your name in the first box and the url/link to your post, not your blog address about your creative efforts this week. When you return your name will already be populated, you just need to paste in the new posts link.


I have created a blog button for those participating who might want to post this on your blog. You'll find it on the sidebar to your right.

Today I am sharing some work in an old book journal.  I am using this journal to teach an Art Journaling Class.


This is a face that came out of the background.


Here I was showing how to make a stenciled background and a silhouette.


This was just a collage I did on my own at home. The tag in the background was made with a mono print.


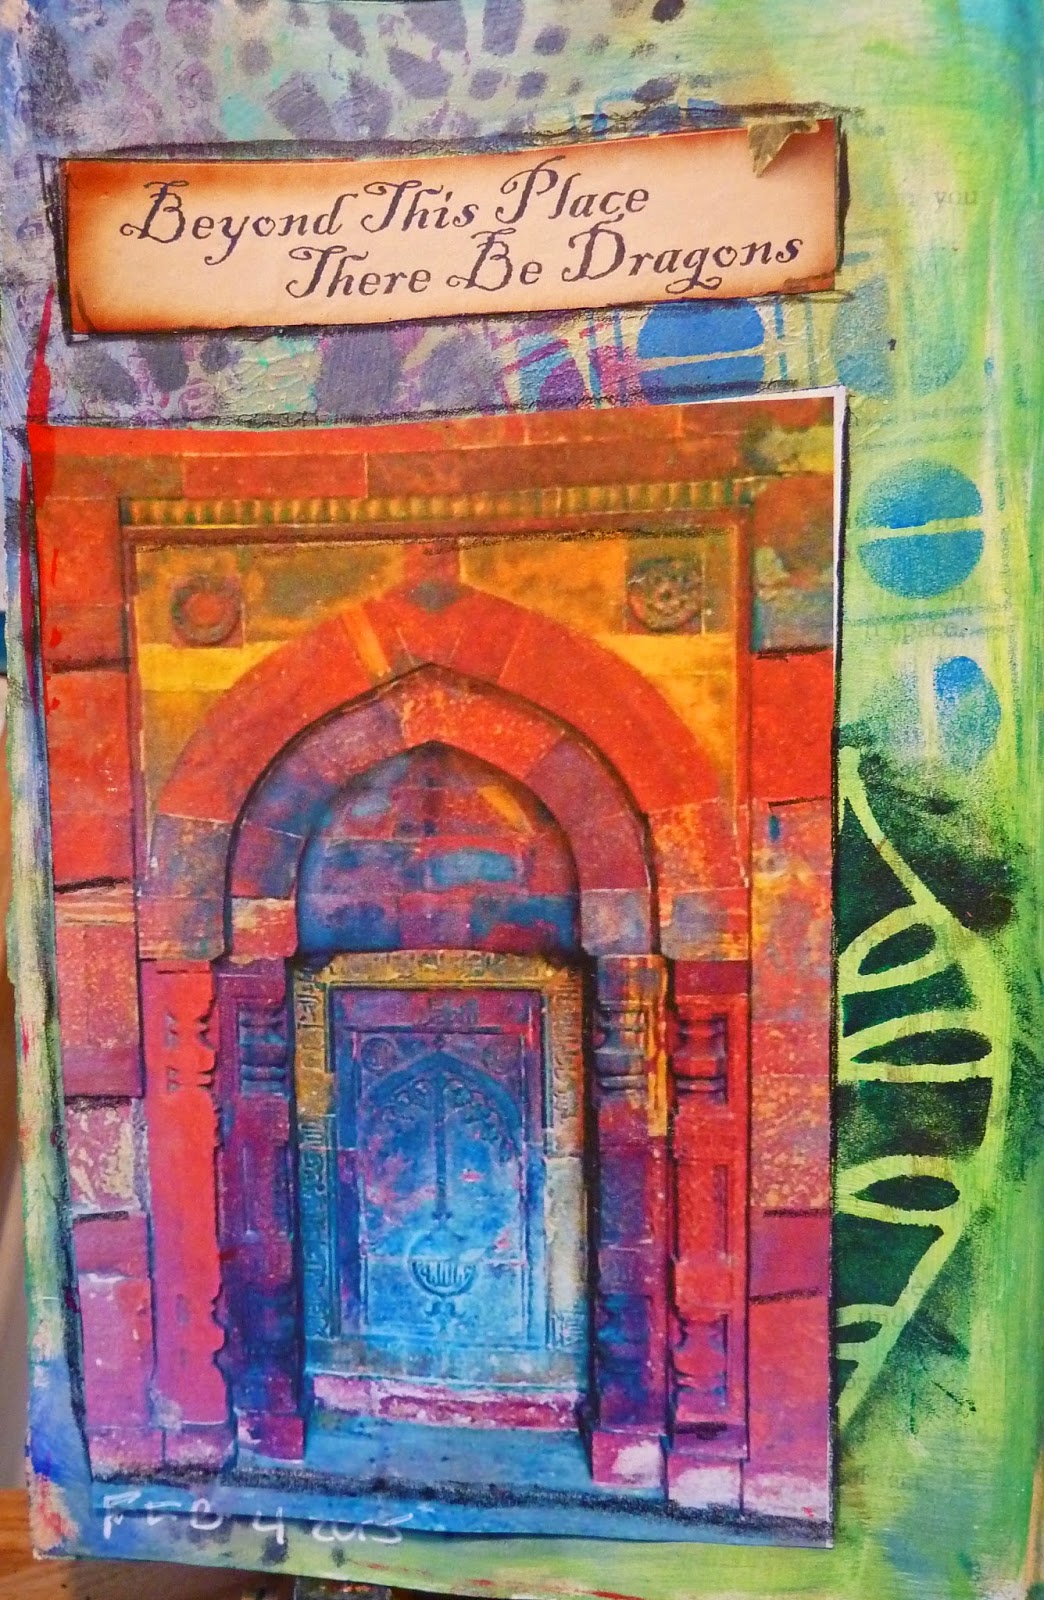
Another collage with a stencilled and masked background.

Now its your turn to share what you've created this week.

Monday, August 24, 2009

French Flea Market Apron


I am still into making aprons so here are the results. I loved this French market apron. You can't help but feel saucy in it. It was easy to make and you really do feel like dancing around the room when you are wearing it.


Then yesterday I managed to make this utility apron. I had this great embellishment of beads and a roman coin hanging off the button area but it fell apart. I tried to use it as it was but I should have restrung the beads. So I will most likely add it later. This little apron has four pockets in it and will be great to wear in the studio. It won't keep paint off your clothes but could hold scissors or pencils when sewing or drawing.

Working on my book.


Over the weekend I came up with a working title for my book. Its "Living your artistic dream" an in depth guide to becoming the artist you always thought you were. I am excited at the title and worked on a vision board for the book today. I plan to use the visual to keep me motivated to work on the project. I took a piece of my art and turned it into a book cover with title and all. That takes center stage along with a sample of ideas I want to talk about and a simple beginnings of an article. It looks pretty white so I think I will go ahead and paint the poster board before I add all the stuff to it permanently. Right now I have it hooked up to a large magnetic board. When it is picture worth I will post it.


I have done a couple pages in the stencil book. I used this filmy fabric that really looks like water. sad to say I am unable to photograph it well.


This page has another filmy fabric across the bird and a simple collage on the left.


I really like this image of mother and child and I thought that thw quote went well with it too. I added a piece of paste paper I had made previously. The colors blended perfectly.


This page is using that filmy fabric again. I cut the stamped mermaid out of card I received from my sister, she seemed to fit into the color scheme. I sewed some batik fabric onto the next page. I may add more to it later. I am finding this book is a real work in progress.

Monday, August 17, 2009

Sharpening a Pitt Artist Pen

This video shows how to sharpen a pitt artist pen. I thought it was a great idea.


Then I saw that Pam Carriker did a video doodling with them, she is using the grey manga set and what she does with them is amazing.

Here are some more stenciled pages from the book I am working on. I have been collecting things to add to the pages. That will be the next step.


Thursday, August 13, 2009

Stitched and Stenciled

I am signed up for Mary Ann Moss's Stitched and Stencil Class. I haven't watched all the videos yet. I have such a slow connection its problematic at times. I have started my pages and I will be showing these as works in progress as they are ever evolving.


I decided to go with just a blue and green theme. These are the backgrounds I painted first. I used some craft paint and some Golden Fluid Acrylics. I did some pages using drops of paint and smearing with a credit card. With the Golden's I added water to make it more like a watercolor wash.


This is the first round of stenciled pages. Eventually there will be more stenciling, sewing and embellishment added. I hope to continue to show these pages as they evolve. If you are interested in taking Mary Ann's class just click on the link in the first paragraph.


and here are two more pages. Its going to be interesting to see how these evolve. Right now I wish I had added more colors and I think I will eventually do so.


and the last four that I have done so far. I have 10 pages which have 2 sides and actually 2 pages per side since they will be folded in half eventually. So there will be a lot more to do for this book.

Monday, July 6, 2009

Making art with recycled materials

Many of us are trying to our best to save the planet by buying green or recycling. As an artist you may wonder what it is that you can do. How about making journals from recycled items. That is just what I did this past weekend.


I used Judy Wise instructions on making a paper bag journal. I decided I wanted a cover so I made a simple cardboard cover. I used cardboard I had saved from Calenders I had previously purchased. It required the use of the Coptic stitch which I had never done before, so I found a tutorial online but then ended up using instructions in a book making book that I had on my own bookshelf. I really liked the simplicity and rhythm of doing this stitch. I think I will make more journals this way.


This is what the spine looks like. It looks like a little chain stitch between signatures.


This is the inside showing the paper bag pages. soon they will be full of paper paint and embellishments.


On a few of the pages I sewed in some pockets just for fun. I am not sure how I will use them but it will be fun to experiment on those pages.


I had done this stencil experiment on a thinner paper bag so I sewed it right on the journal page.


This is another journal I made out of a composition notebook. I removed all the paper and used some old manila file folders to make the pages. I was going to sew it but I kept having problems with the spine so I used my Bind-it-all and made a spiral bound book out of it.

Another thing that you can do is to use up all your paint. If you have any left over on your palette, use that paint as a background color on a canvas or in an Art journal. That way you are not washing it down the drain or tossing in the garbage.

In making a collage you can use of course anything, but how about junk mail and newspaper, greeting cards, or recycle old book pages in your work. I know that people sell collage elements but I think a piece has more life and more impact if its something you found yourself. Once you start thinking this way you will come up with all sorts of ideas.

I also make ATC's out of old cereal boxes. I got the idea from Karen at Art in the Garage. Here is where I tried the technique previously. I now save all my cereal and cracker boxes and so forth to reuse. Sue Bleiweiss has a great free project on making booklets from cereal boxes, check it out here

What is your favorite ways to using recycled items in your art?